If you’ve printed in the darkroom before, you may be familiar with this scenario. You’ve processed your film, made your contact print, and have a shortlist of images to try. You duly take your negatives to the enlarger and begin with the first. Test strips are made, and a work print, and maybe a different grade is trialled. You glimpse some of the print controls that might be applied on the journey to a fine print but aren’t yet sure. Perhaps you even try to apply some. Time passes.
You are beginning to tire, and nagging at you is the thought of those other potential images. What if they print more effectively? What if the path to a final print is more satisfying or even easier with one of those other frames? You give in to temptation and start the test strips for the others. By now you are getting somewhat tired and the printing session is getting a bit frustrating. You’ve been at it for some time, but don’t have anything finished to show for your troubles.
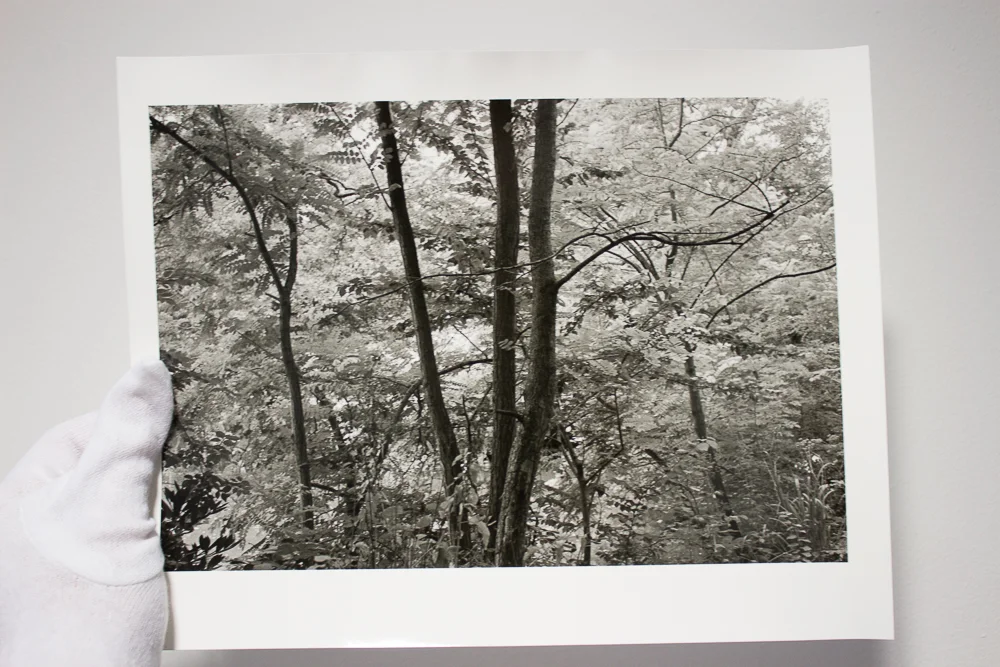
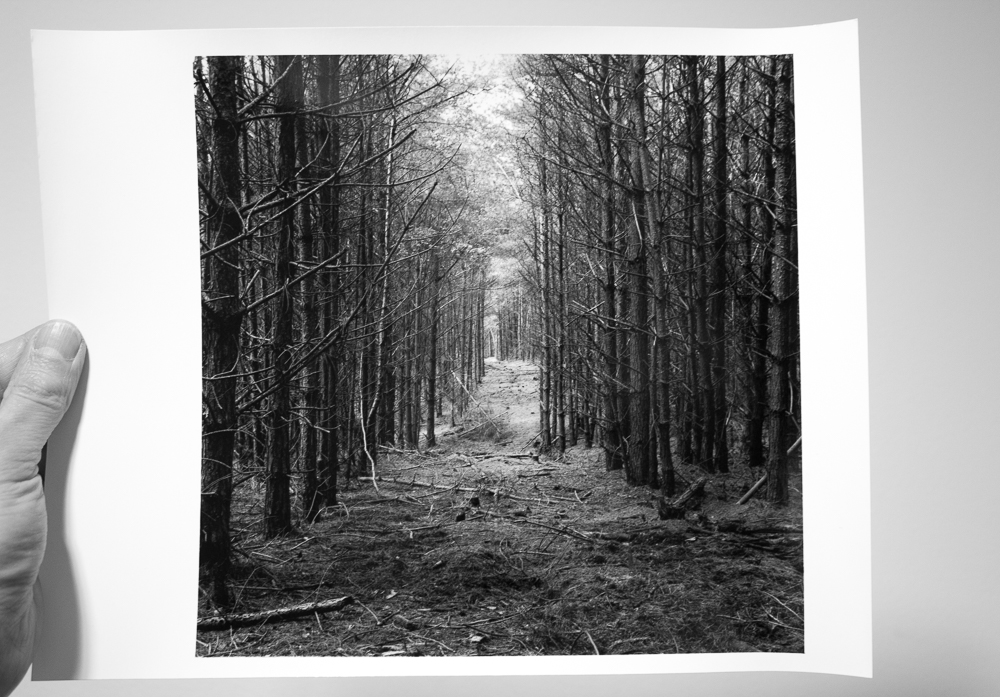
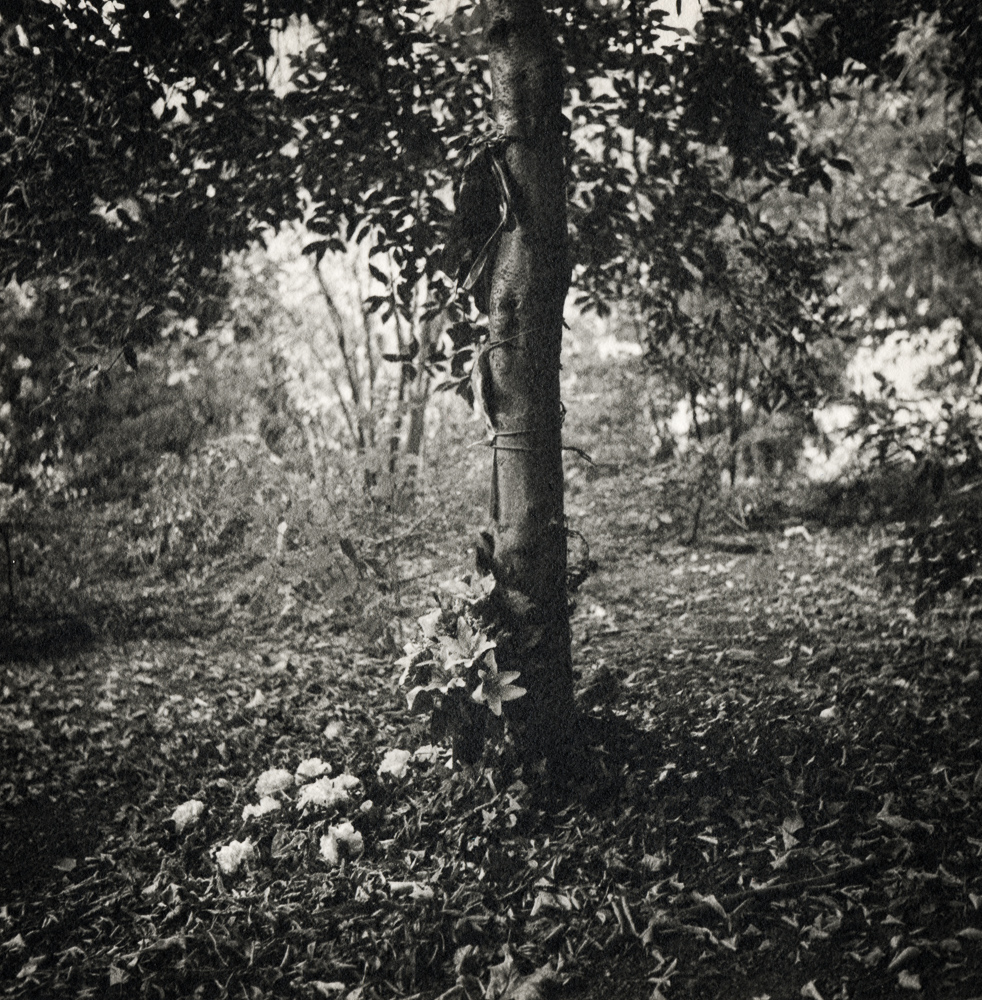
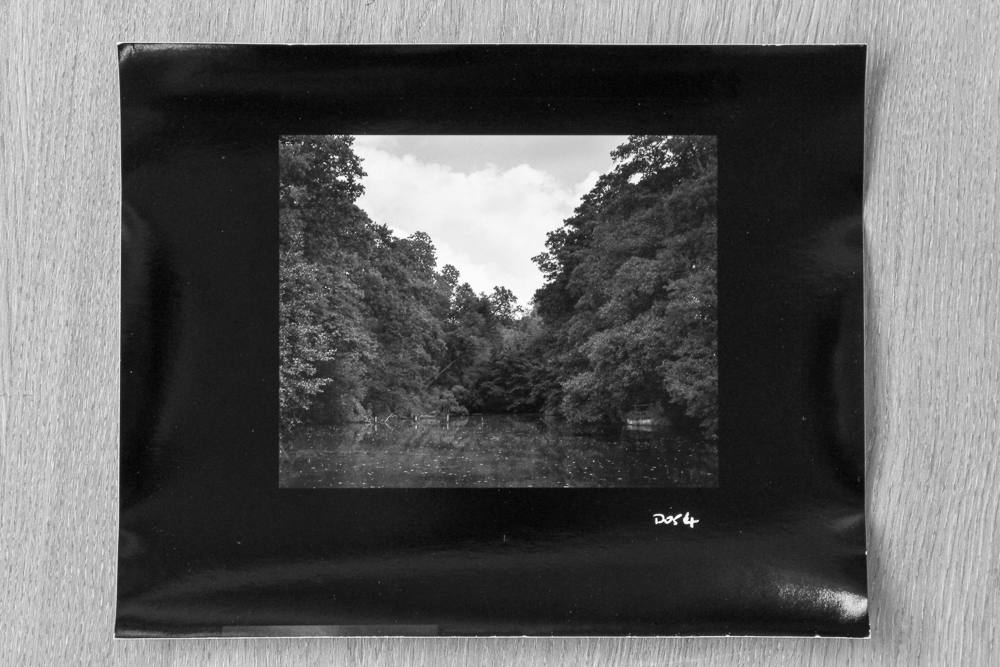
I’ve found a way to avoid this scenario. It’s nothing particularly revolutionary, and is certainly known to makers of fine darkroom prints today and yesterday. The key is to designate the first printing session a ‘look and see’ session. You print to work prints only, and cover all the images that interest you. You mentally sideline the questions about reaching fine prints. You then leave this session with a set of roughs: work print enlargements that allow you to mull over the images in between sessions. You then have the time to produce fine printing plans, returning to the darkroom refreshed at some later time.
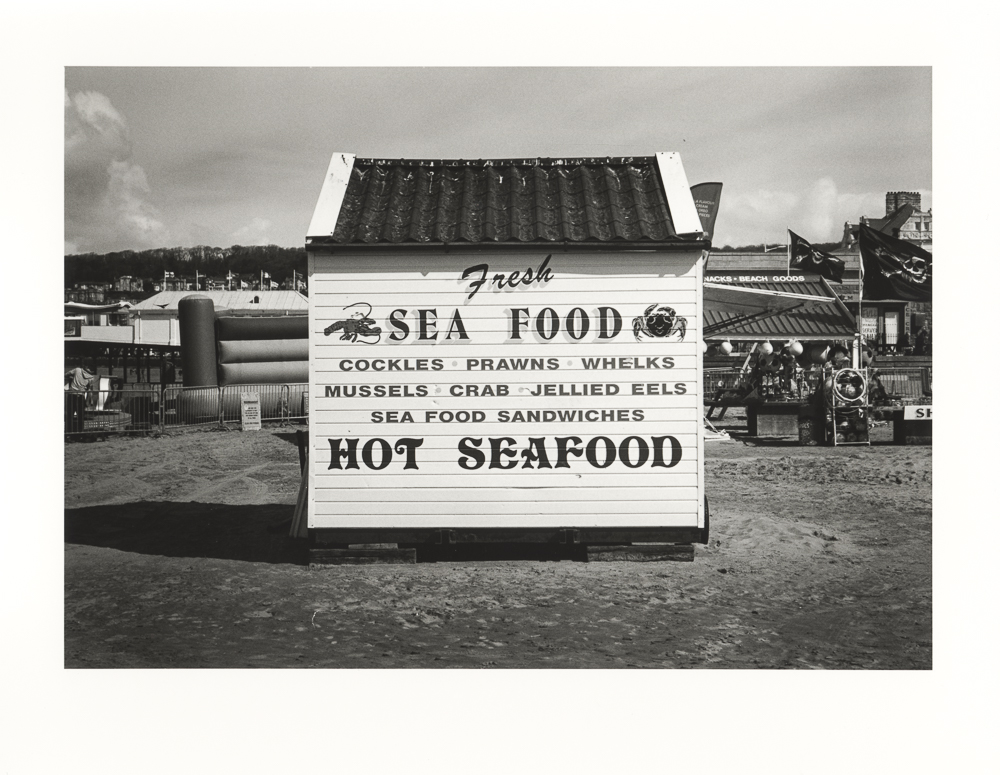
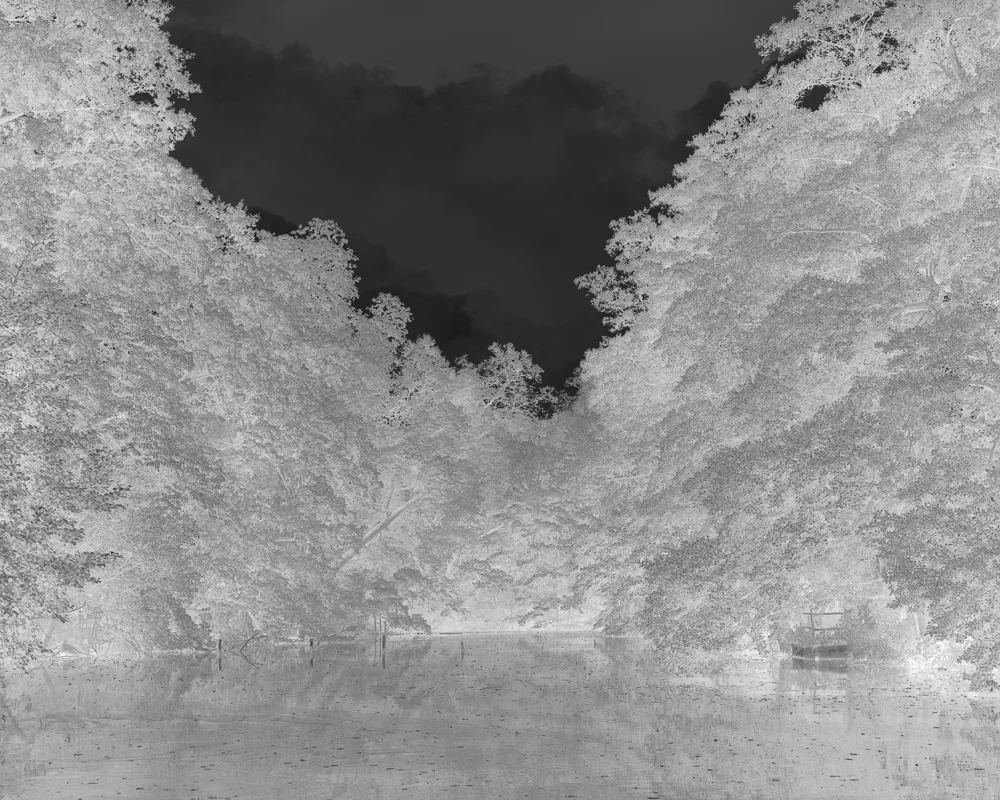
The next session will now be much more satisfying because you know what you want from it: you have done the groundwork - the labour of test strips and work print - and you can concentrate on the subtleties. This is such a simple division, but I’ve found it really does make my darkroom printing more pleasurable. If you don’t already print in this manner, why not give it a go?